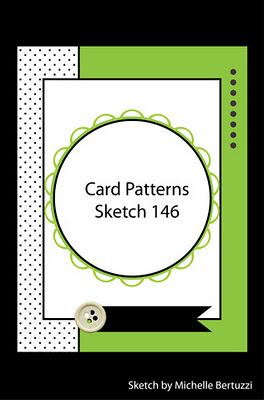
I've spent the past several days making thank you cards. It turned into a WAYYYYY bigger project than I'd ever intended, but it was fun and it really got me acquainted with my Cricut. I'd never made a card using it and, let me tell you, it took a little research and tweaking to get it right.
I pulled out all the stops!! I used the Cricut...I used embossing techniques....I used glitter...I used buttons!! And my girls helped with much of it.
Since it was such a project, I took pictures along the way so that if YOU have a Cricut and have never made a card with it, you might be inspired to do it now.
First things first, I went to Card Patterns for sketch inspiration.

Then I looked through my Cricut cartridges for card ideas. I have Winter Woodlands and it has a card function button, so I researched how to use it.
Choose the "card" button and then the image you'd like cut out. I chose the mittens,
- Choose the size. I made a 5" card, so all my dimensions will be to fit a 5" card.
- Cut out card.
I wanted to add some texture and design to the mittens, so I stamped them with snow flakes using Versa Mark and then embossed them using my new heat tool! fun stuff right there!

- Load a full sheet of patterned paper and move the blade down and over 6". It takes a lot of paper to do this, unfortunately. but you can use the scraps for something else.
- Hit the center point button. This will allow you to cut a square and then a circle without having to find the center point of each.
- Cut a square by hitting shift and the square shape. You need to cut a 6 1/2 inch square. The dimensions for this are measured on the diagonal (that was a huge learning point!).
- The blade will return to the center of the square.
- Then cut the circle from the middle of it. Hit shift and the circle shape. Change the size to a 4 1/2 " circle. Cut.
- You now have a nice matt to adhere around your image on the card.
Next I wanted to add glitter to look like snow around the mittens.
- Put 2 strips of packing tape over the image on the inside of the card so that the sticky side is facing out on the front. Be careful not to touch the exposed tape with your fingers or the glitter will not stick properly. Also, do this step on a craft matt so you'll be bale to pull it off and do the glitter!
- Turn it over and glitter away!
I wanted the white glitter to really look like snow, so I found that applying a white piece of paper over the tape on the inside really let me achieve that. So, I cut a 5 X 5" piece of white paper for that.
Lastly, I put 3 buttons along the upper edge and my "Thanks" sentiment along the bottom.
Whew! As you can see I made several. I always do! Assembly line style is the way to go.
I hope this little tutorial helps someone :-) I was shaking my head at how much time I was taking to make these cards, but I really enjoyed putting my Cricut to the test and using it to the fullest potential!


No comments:
Post a Comment
What's on your mind, friend?
Note: Only a member of this blog may post a comment.